A Step-by-Step Guide to Installing Your New Garage Door
Installing a new garage door can be an exciting and rewarding DIY project for any homeowner. With the right tools and preparation, this task can be completed safely and efficiently. In this step-by-step guide, we will walk you through the entire process of installing your new garage door, from choosing the right door to making the final adjustments. If you have any questions or need assistance, don't hesitate to contact Maple Overhead Garage Doors Inc. today!
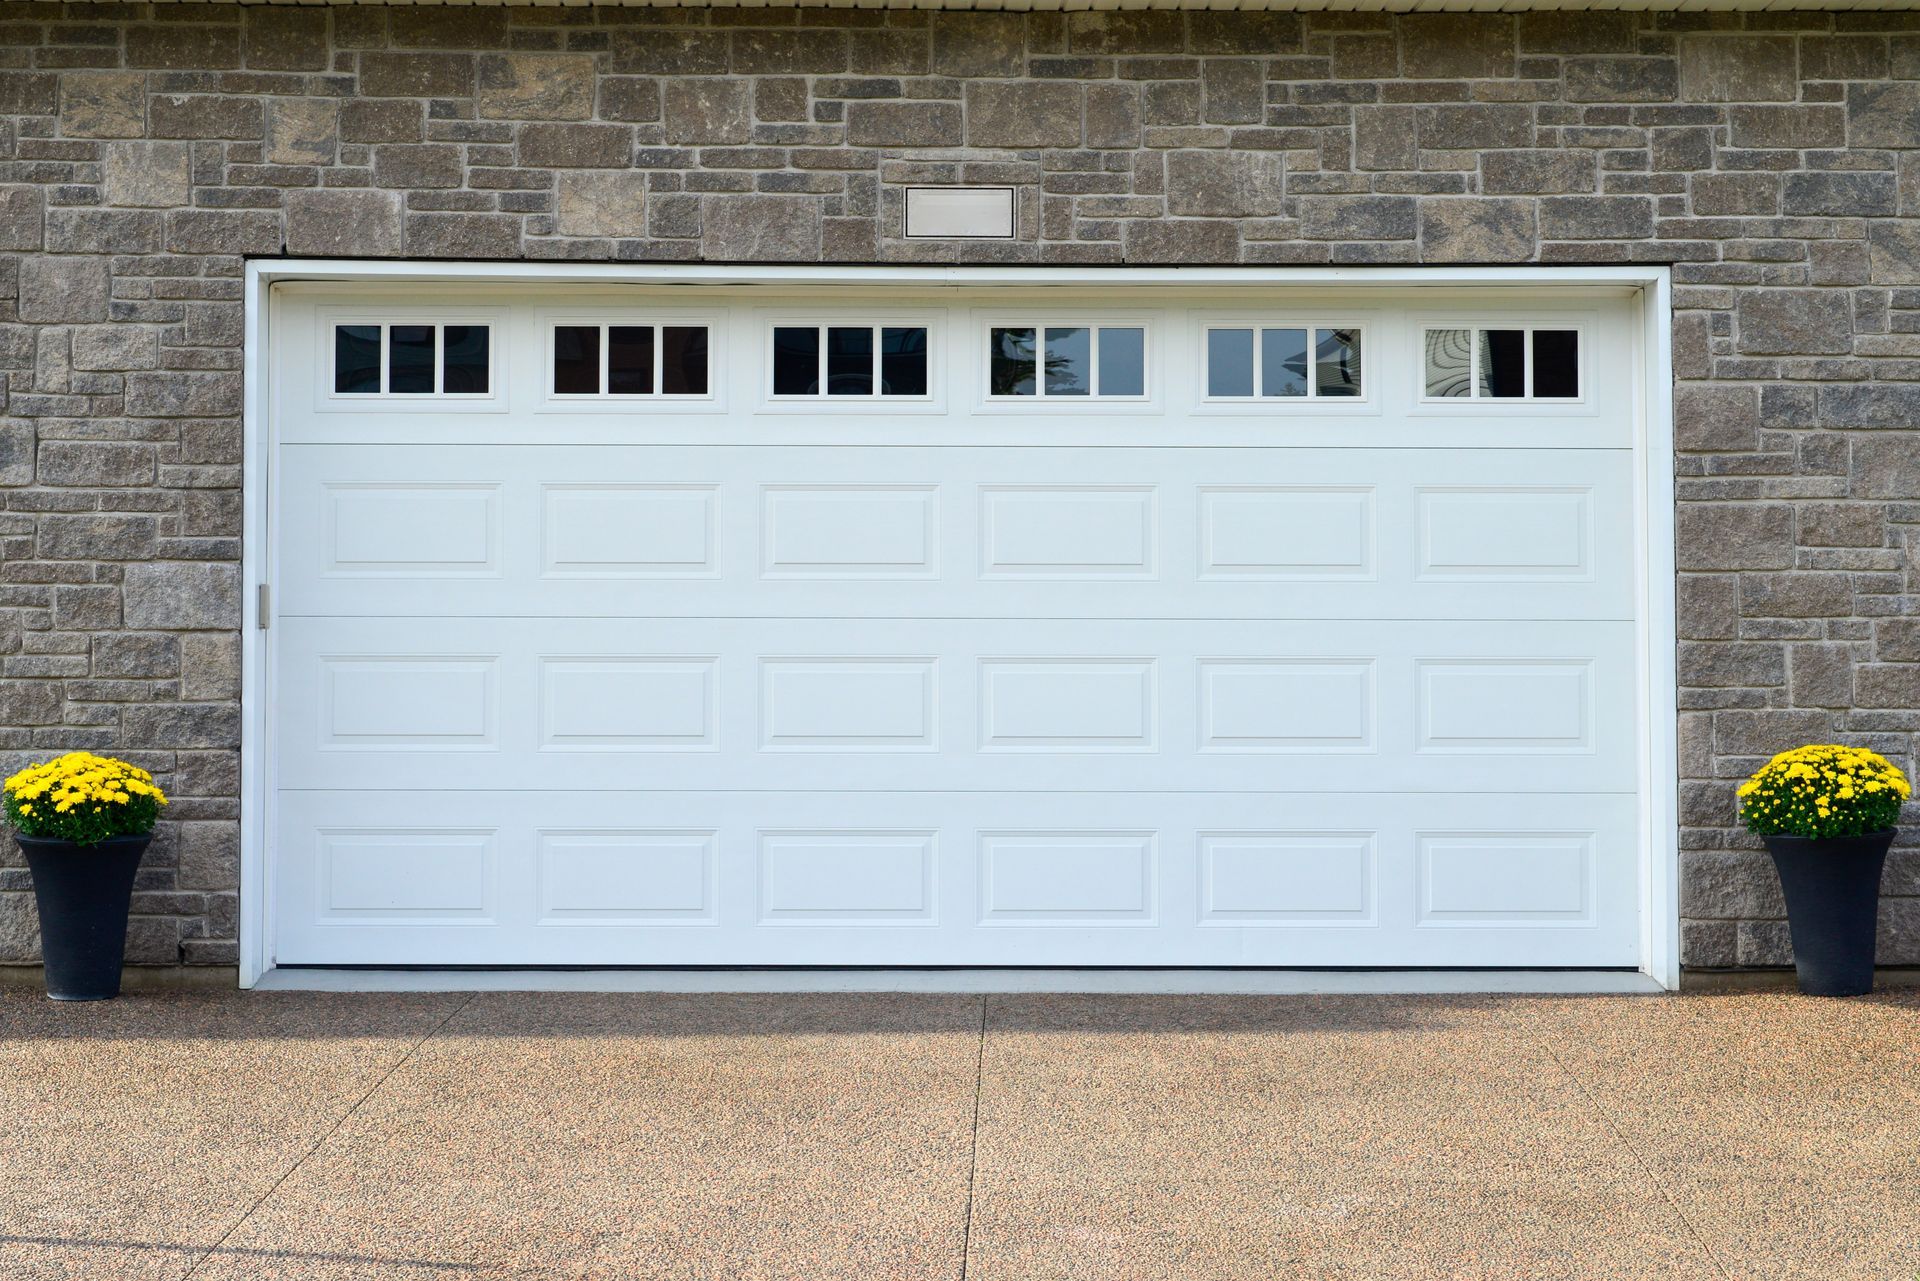
Step 1: Choose the Right Garage Door
The first step to installing your new garage door is to select the best type of door for your home. Maple Overhead Garage Doors Inc. offers a wide range of options, including steel, wood, fiberglass, aluminum, and flush mount garage doors. Consider your home's architectural style, your preferences in terms of maintenance requirements, and your budget when choosing the perfect garage door.
Step 2: Measure Your Garage Opening
Before purchasing your new garage door, you will need to measure the dimensions of your garage opening to ensure a proper fit. Measure the width, height, and side room (the space between the opening and the nearest wall) of the garage opening. Also, measure the headroom (the space between the top of the opening and the ceiling) to ensure there is enough clearance for the garage door's track system.
Step 3: Gather Your Tools and Materials
To install your new garage door, you will need the following tools and materials:
- Garage door kit (including panels, tracks, springs, and hardware)
- Drill and bits
- Screwdriver
- Adjustable wrench
- C-clamps or locking pliers
- Level
- Tape measure
- Hammer
- Ladder
Step 4: Assemble the Garage Door Sections
Follow the manufacturer's instructions to assemble the garage door sections. Attach hinges to the top edge of the bottom section and rollers to the vertical edges. Repeat for each additional section, being sure to align the hinges and rollers correctly.
Step 5: Install the Tracks and Rollers
Attach the vertical tracks to the side of the garage opening, ensuring they're level and plumb. Slide the rollers into the tracks and secure the tracks to the garage door frame with brackets. Install the horizontal tracks, attaching them to the vertical tracks and mounting them to the ceiling or support structure. Use a level to ensure the tracks are straight and parallel.
Step 6: Attach the Garage Door to the Tracks
With the help of a friend or family member, lift the assembled garage door sections onto the tracks. Start with the bottom section, then add each subsequent section one at a time. Be sure to secure each section with the appropriate hardware before moving on to the next section.
Step 7: Install the Springs and Opener
Follow the manufacturer's instructions to install the torsion or extension springs. This step can be dangerous, so take your time and follow all safety precautions. If you're unsure about this step, contact a professional garage door installer for assistance.
Install the garage door opener according to the manufacturer's instructions, ensuring it's securely mounted to the ceiling or support structure.
Step 8: Make Final Adjustments
Once your garage door is fully assembled and installed, test its operation by manually opening and closing it. Make any necessary adjustments to the track, springs, or opener to ensure smooth and safe operation.
Installing a new garage door is a rewarding project that can greatly enhance your home's curb appeal and functionality. With proper planning, preparation, and attention to detail, you can successfully complete this DIY project. If you need assistance or have any questions about garage door installation, don't hesitate to contact Maple Overhead Garage Doors Inc. today!